Creating a sales funnel is the most important thing any business can do whether they are offline or online. In this post I am going to go through what you can do to set up your own profit pulling sales funnel that can work for your business every day even when you are sleeping.
More...
Disclaimer :- Please note that our site does contain affiliate links and if a purchase is made through our link we get a small commission. Any mention of a product or service is supplied for information purposes only.
UPDATE :- Thrive Content Builder Now Called Thrive Architect Same Product Just Better
What is a sales funnel ?
Although sales funnels can be quite complex in this post I will be looking at a very basic but effective funnel that is simple to replicate.
Sales funnels are a series of pages set up on the internet of which there primary use is to grab your potential customers details, this is done by offering them something that solves a problem they may have.
The visitor is happy to exchange their details for a solution to the issue they have... its a WIN WIN all round.
Do I need a website ?
Short answer no you don't... There are some sites where you can build everything within their site one such site is called Clickfunnels. You can even build very complex sales funnels and its very simple to build using their great tutorials. On the downside they do charge a large monthly fee for the priveldge of using it.
Another way of producing your funnel and the one we are going to look at today is to use a platform like WordPress and a plugin called Thrive content builder making your sales funnel very simple to build.
There is a tutorial on how to get your WordPress platform live on the internet here should you need it.
Advantages of using WordPress is that it is a free platform (although a recommend you self host) which costs a few bucks a month. One thing you will need is a domain name you can get these for free with some hosting sites, otherwise Go Daddy is a great place to start when looking.
The Thrive content builder plugin has numerous features and is a very simple drag and drop system that even a complete newbie can use. That's why I love using it and find it easy to recommend.
So lets start to create our Sales funnel
If you need get your wordpress platform live go look at this tutorial first then come back here and continue.
Uploading Thrive Content Builder
Once you have got your plugin from the Thrive Themes website and downloaded it to your desktop, you can then upload and activate.
Head to your wordpress dashboard and scroll down to plugins on the left hand side then choose add new click on upload plugin then choose file where you can go and find the Thrive content builder on your desktop.
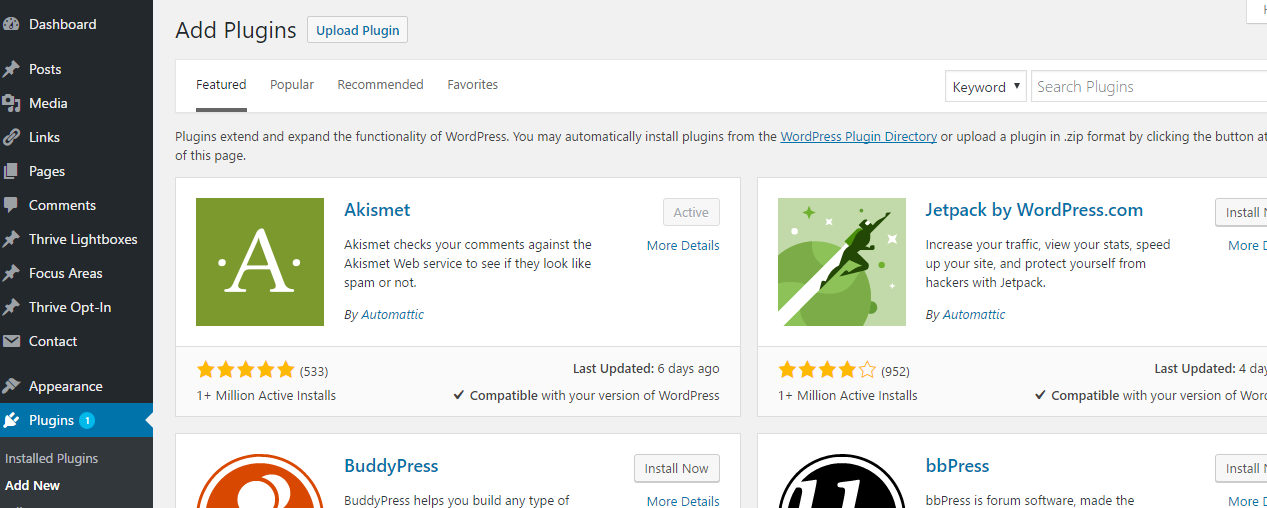
Once it has loaded (could take a few seconds) you can then activate it.
That's it you are ready to start building.
Create the sales funnel pages
I am building a very simple but effective sales funnel consisting of just three pages, so next you have to go and create three pages, which can be done very quickly.
On your dashboard go to pages, add new then add in the name you want your page to be. This first page is going to be my lead capture page or squeeze page as sometimes called. I have named this "Free Gift Test" once you have done this hit save draft....
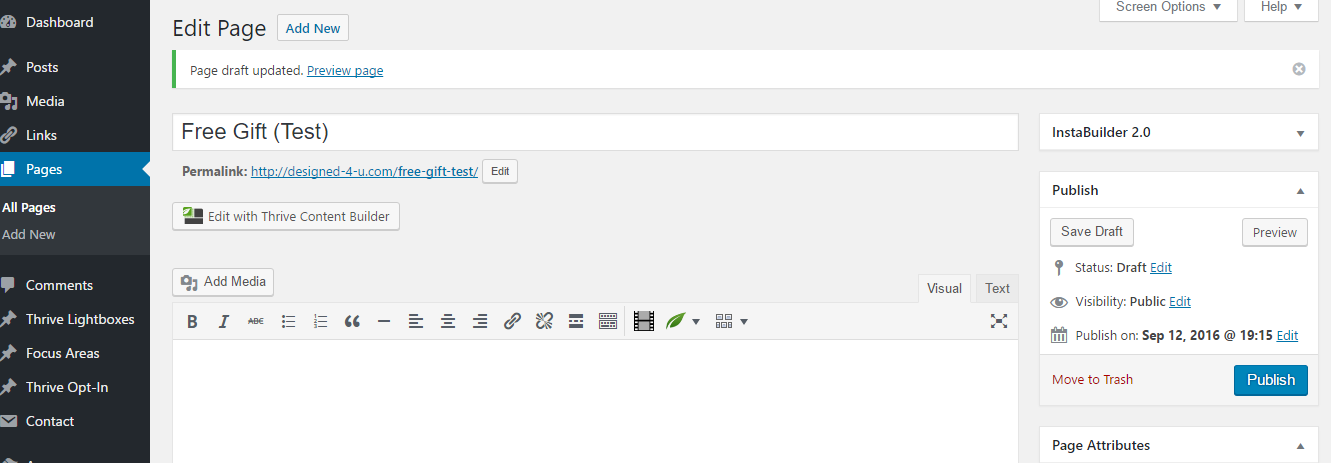
Now repeat this process for your thank you page and a page to deliver your free gift. Please note DO NOT call your deliver page "Download" or something similar this can be easily guessed and visitors could get access without giving any information.
Adding content to your pages
To add the content and start building your sales funnel you can now use the Thrive content builder plugin. Open the page you want to begin with then click the button just under the permalink to the left which says edit with Thrive content builder.
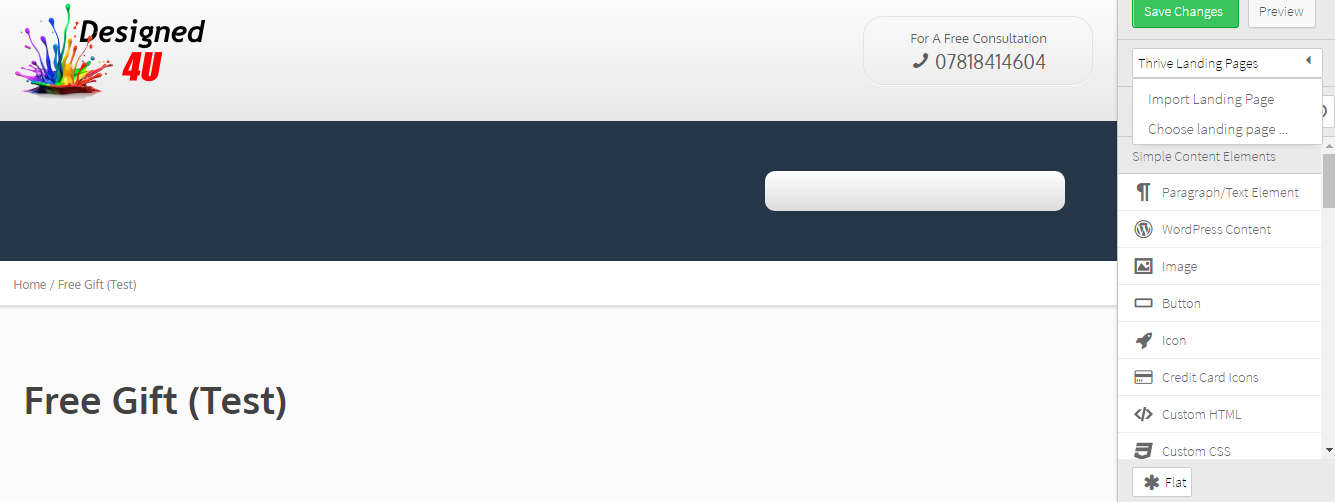
This will open in a new tab and down the right hand side will be all the feature elements that you can use to not only build your pages but this elements can be used for blog posts and to design a complete website, making it so simple.
Now look for landing pages drop down in the top right corner under the save button open this and then select choose landing page.
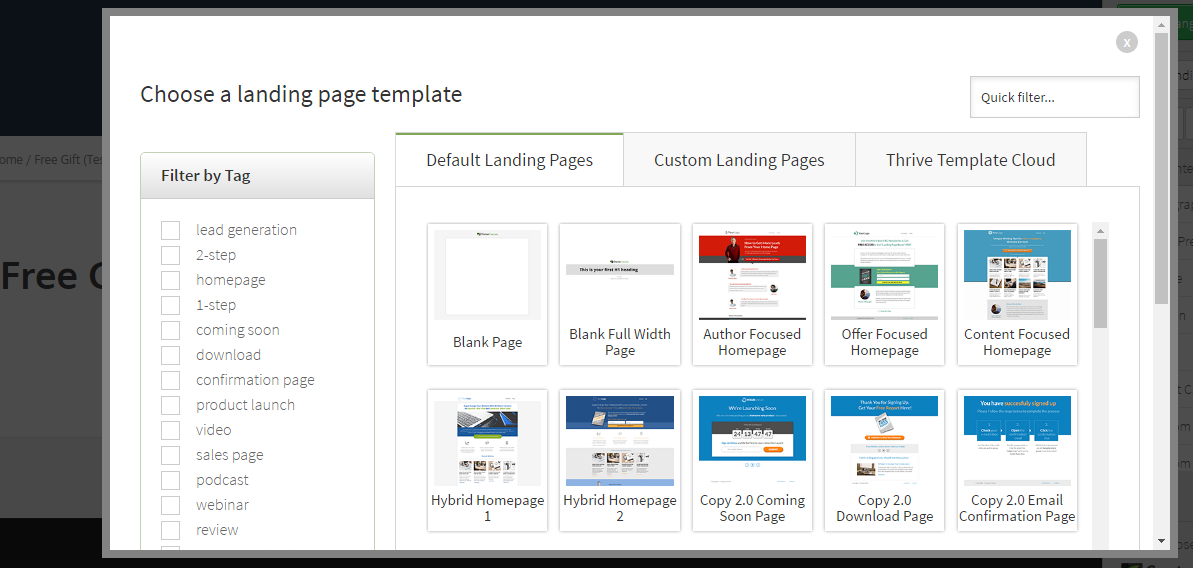
Here you have loads of different page templates that you can choose, you can filter your choice on the left hand side depending what page you are looking to build.
Thrive are constantly adding new templates and have now added a cloud tab which means you have even more choice and just have to download what you need.
Create your own lead generation pages FREE tutorial #leadgeneration
You can then start to add in your own text images and even change the colors suit your brand. If you need to change an element that's no problem at all just click the element and then click the cross in the top right hand corner and it will be deleted. To add new elements choose which element you require from the editor on the right hand side then click and drag it to where you wish to place it on the page.
If you get stuck... Don't forget to watch my video tutorial here as I build a landing page.
When you have completed the page, go back into the page via your dashboard and then hit the publish button. You can of course go back and update at a future date, just by opening up the page in the thrive content editor.
Now you need to repeat for your thank you and download pages but remember don't call it download when you name the page.
With all three pages finished and live there is one last part you need to add into the lead magnet (squeeze) page and that's your auto responder code for collecting your visitors details... this also enables you to set up some emails to send them and of course deliver them the solution to the problem they had.
The auto responder I use and recommend is Aweber and that's the one I shall be using to show you how to add the code and set up your first email, which will go out automatically.
If you already have an auto responder then login now... if you don't then you can get a free trial of Aweber here.
Once logged in the first thing you need to do is create a list this is where your visitors details will be stored and also where you will set up your email campaign too.
You can give your list a name and a description this will make it easy to locate when you add more lists.In Aweber you can have unlimited lists just another reason why I use them. You will get asked to set up a confirmation email, just click save and move on. I don't use this feature in Aweber although some other auto responders may force you too.
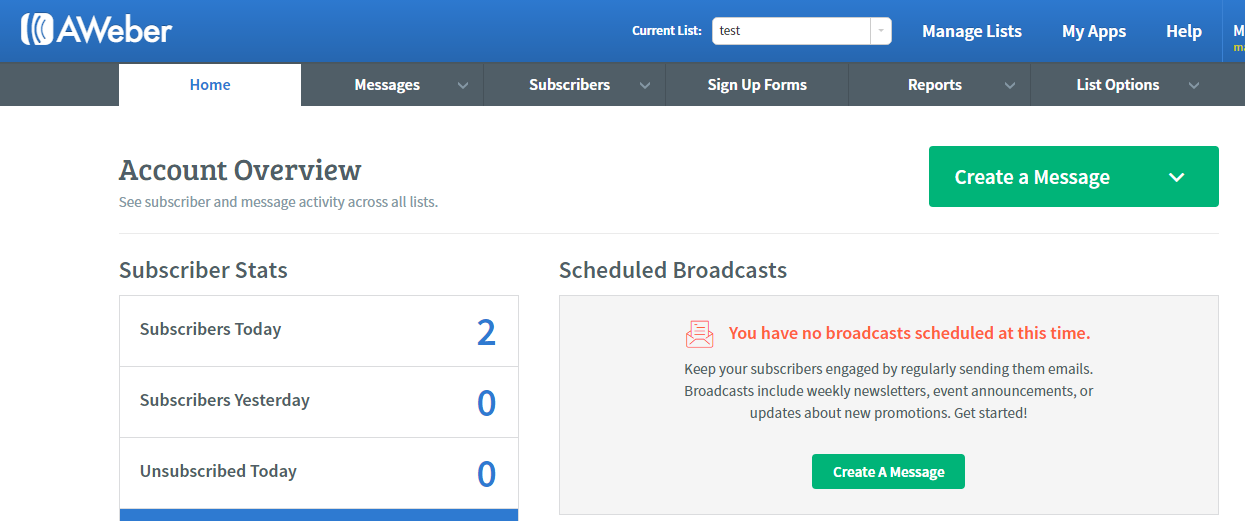
Now search for the list you just created by using the drop down, select this and then choose list options in the menu on the right hand side. In the drop down select list settings.
In the basic settings just check info is correct and add in an email if you want to be notified when someone signs up to your list... This can be a great motivator when you start to see visitors signing up. With some businesses this is vital as you may need to follow up with a phone call or even send out a physical product.
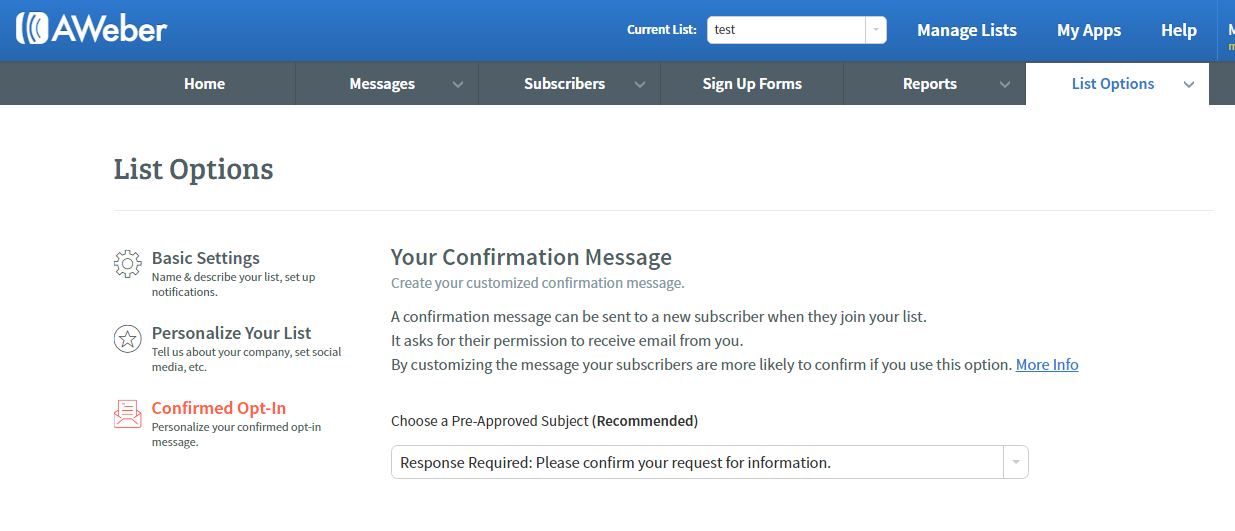
You can personalise your list by adding logos and email signature in this section. In the confirmed optin section I will be setting both tasks to off.
Now you can create your first form, whilst still in your list go to the sign up forms tab, you will then be prompted to create your first sign up form. There is also a tutorial video to help you with this. Just yet another reason why I love aweber, loads of tutorials !
There are three parts to this... Part one is design, now because I am using Thrive content builder I can do all the design on my page, so nothing is needed as the default design has email and name boxes which is what I recommend you use.
Part two is the important part as this is where you add in your custom page url for your thank you page. This means that when someone signs up to your list they will be taken directly to the thank you page. On this page you can thank them and say to them that they will be receiving an email shortly with information on where to find their product, coupons, report or what ever they signed up for.
I will show you how to do the email shortly
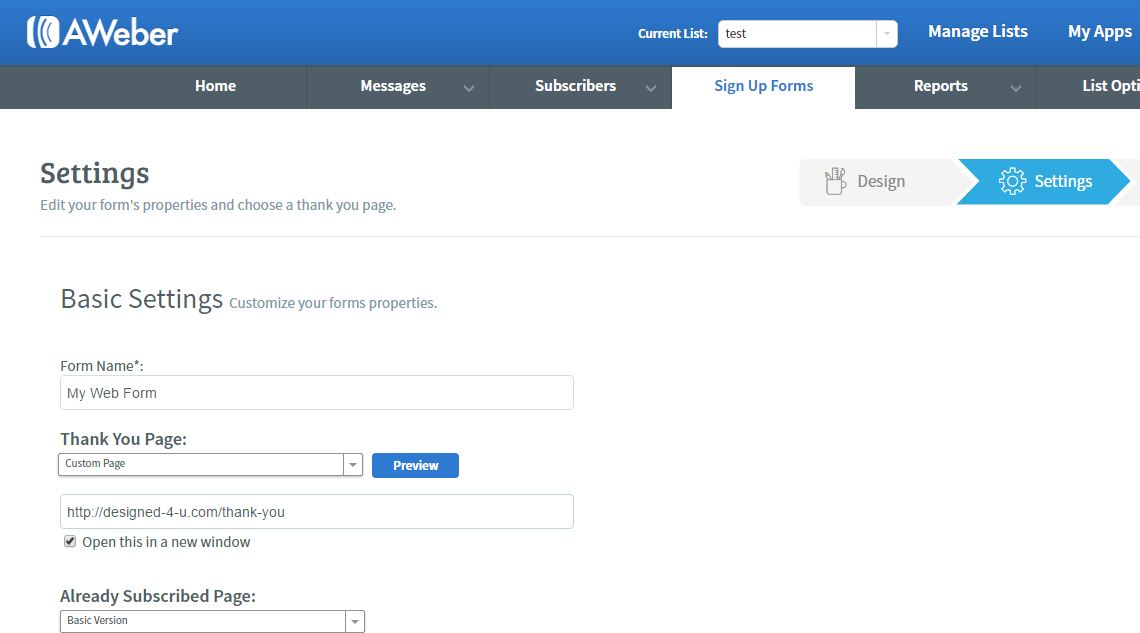
On the thank you page drop down chose custom and then ad in the page URL that you created earlier in your WordPress dashboard. I always tick the open in new window too so they don't lose the page they signed in on.
The already subscribed page I tend to leave as the default one. Hit the save button and go to the final step. This is where you can get the code you need to create your sign up box on your lead magnet (squeeze page).
Click the I will install my form and then chose raw html version. Copy this code in full and save to a notepad or word document.
Adding the form code into your lead magnet
Head back to your lead magnet page and add in your lead generation form by dragging the element on the the page where you would like it to go.
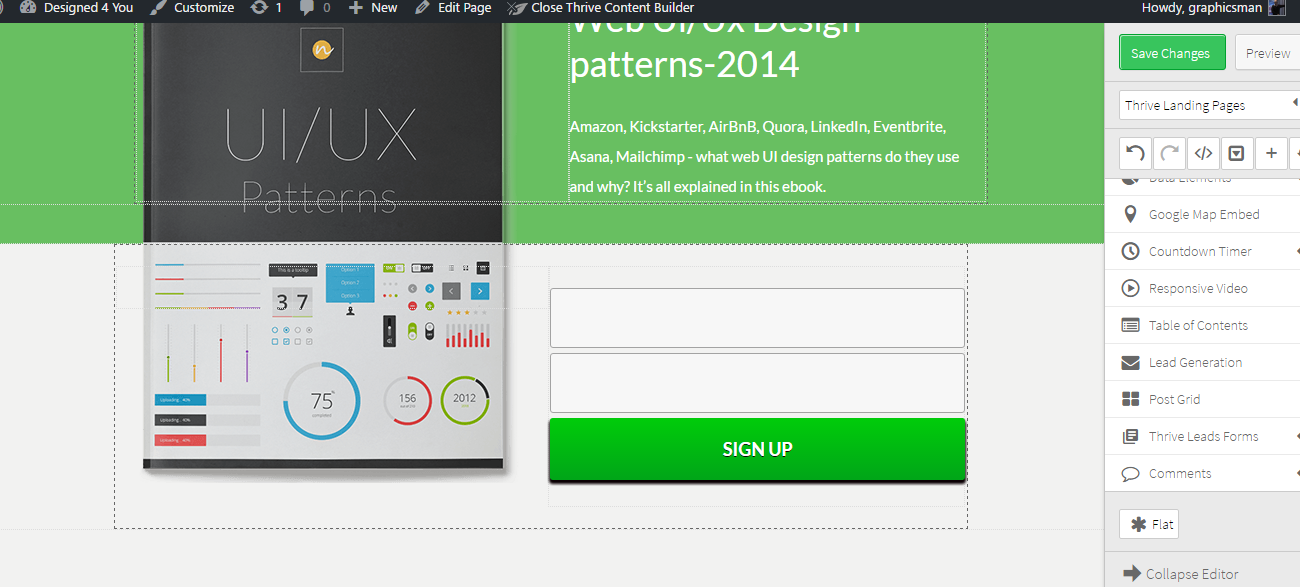
Hoover over the lead generation box and click to edit, then choose connect to service, then from the drop down box choose HTML
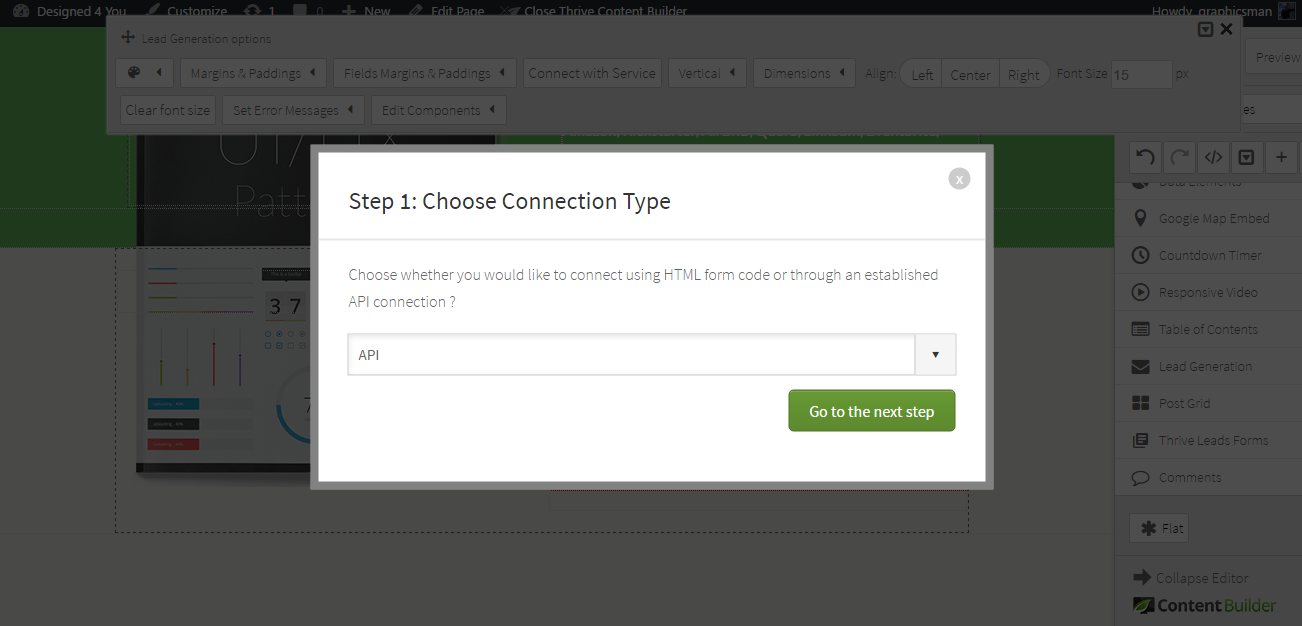
Grab your form code that you created in Aweber and add into the box then click generate fields button. Once you have done this you have the option to add in text to the boxes and tick if required or not (I would always tick yes required) then hit save.
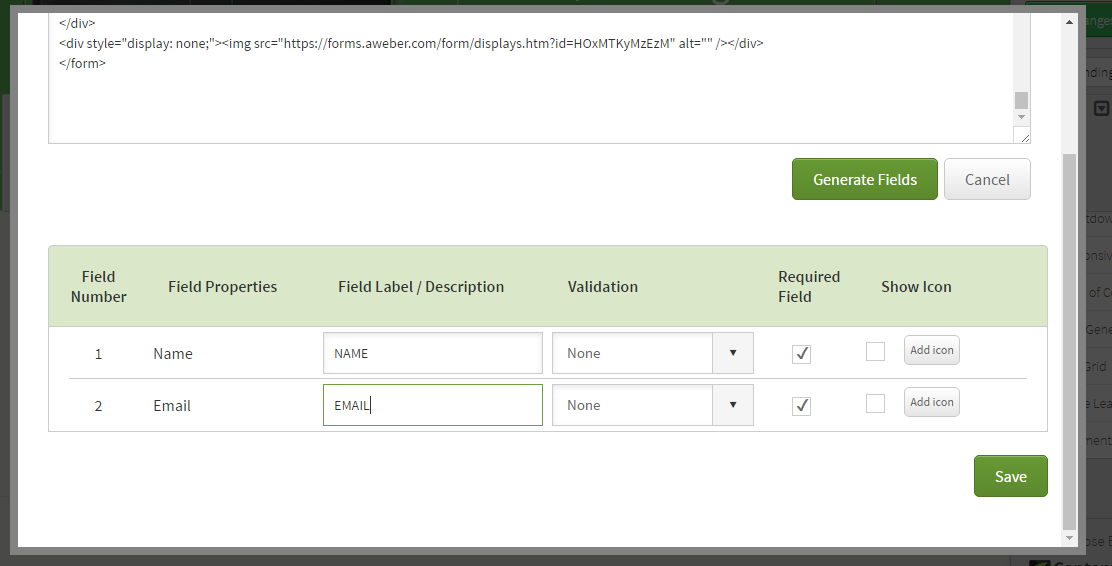
Your form is now on your page and you are ready to go live, if you haven't already within the edit page you can now hit publish.
As you can see I have gone through this quite quickly but take your time to when adding content and text be sure you use great keywords, and benefit driven wording.
If you have any questions about this post or anything related then please post them below in the comments. I always love to hear from people and will answer all your comments.
PLUS - We will keep you updated with tips, products and resources all about blogging. By filling in the form we have your consent to do this, and you can opt out at any time.
Never Build A Blog Without A Proven Guide
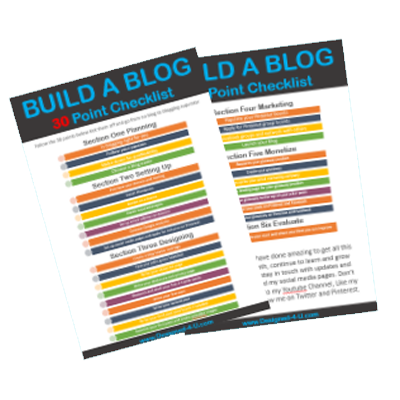
Build your own blog and start making money by simply following our proven 30 point checklist and resource pack : completely for free!
